For best results, import any images into your Word document instead of copying and pasting.
- Place your cursor in the text where you want to import the image.
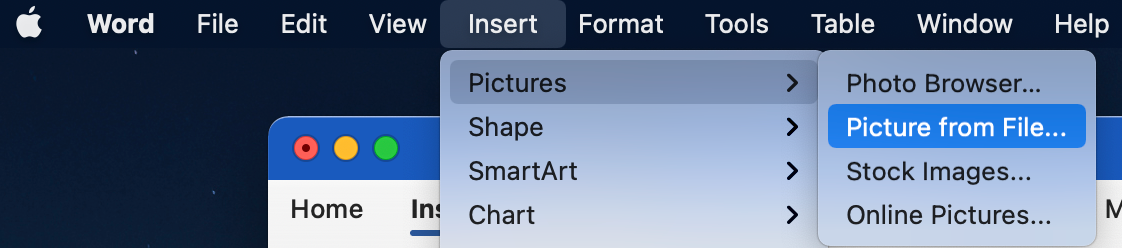
- Select Insert > Pictures > Picture from file from the main menu.
- Navigate to the folder where the picture is saved and double-click the image’s file name to insert it into your document.
Formatting Images
Microsoft Word has several tools you can utilize to format your picture. After inserting, click the image to see the “Picture Format” tab on the top menu. On that tab, you will also see a button to open the Format Pane.

Like the Style Pane, the Format Pane will appear to the right of your document.
Below is a description of what is available on each tab of the Format Picture pane.
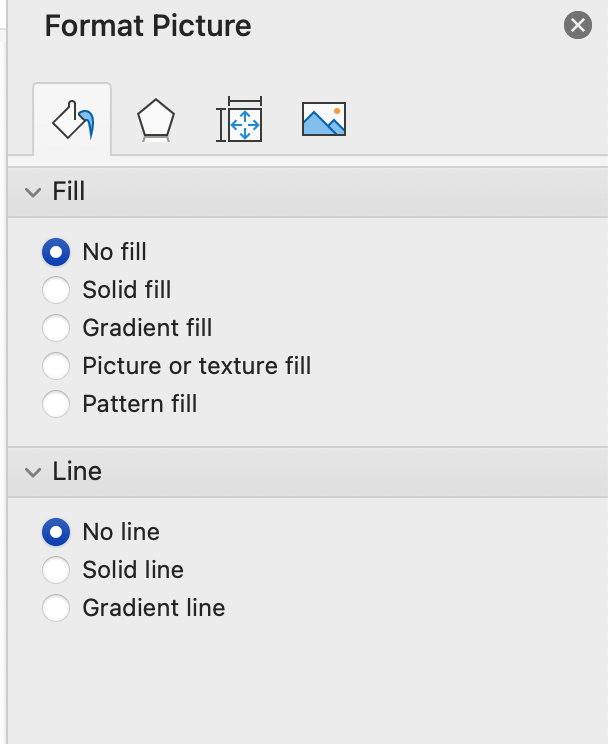
Fill
Add a fill to your picture or leave the default of “No fill.”
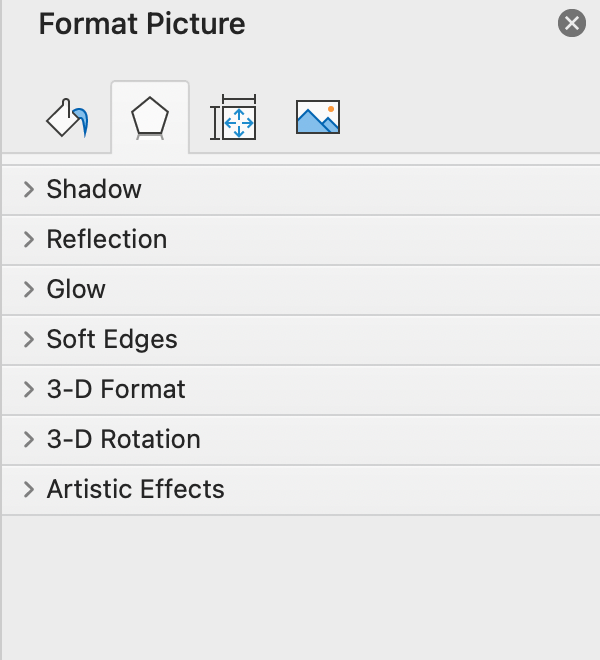
Format Shadow
There are several options to add depth to your images by including a shadow, creating 3D formats, or adding artistic effects.
Notice the drop shadow on the image below.
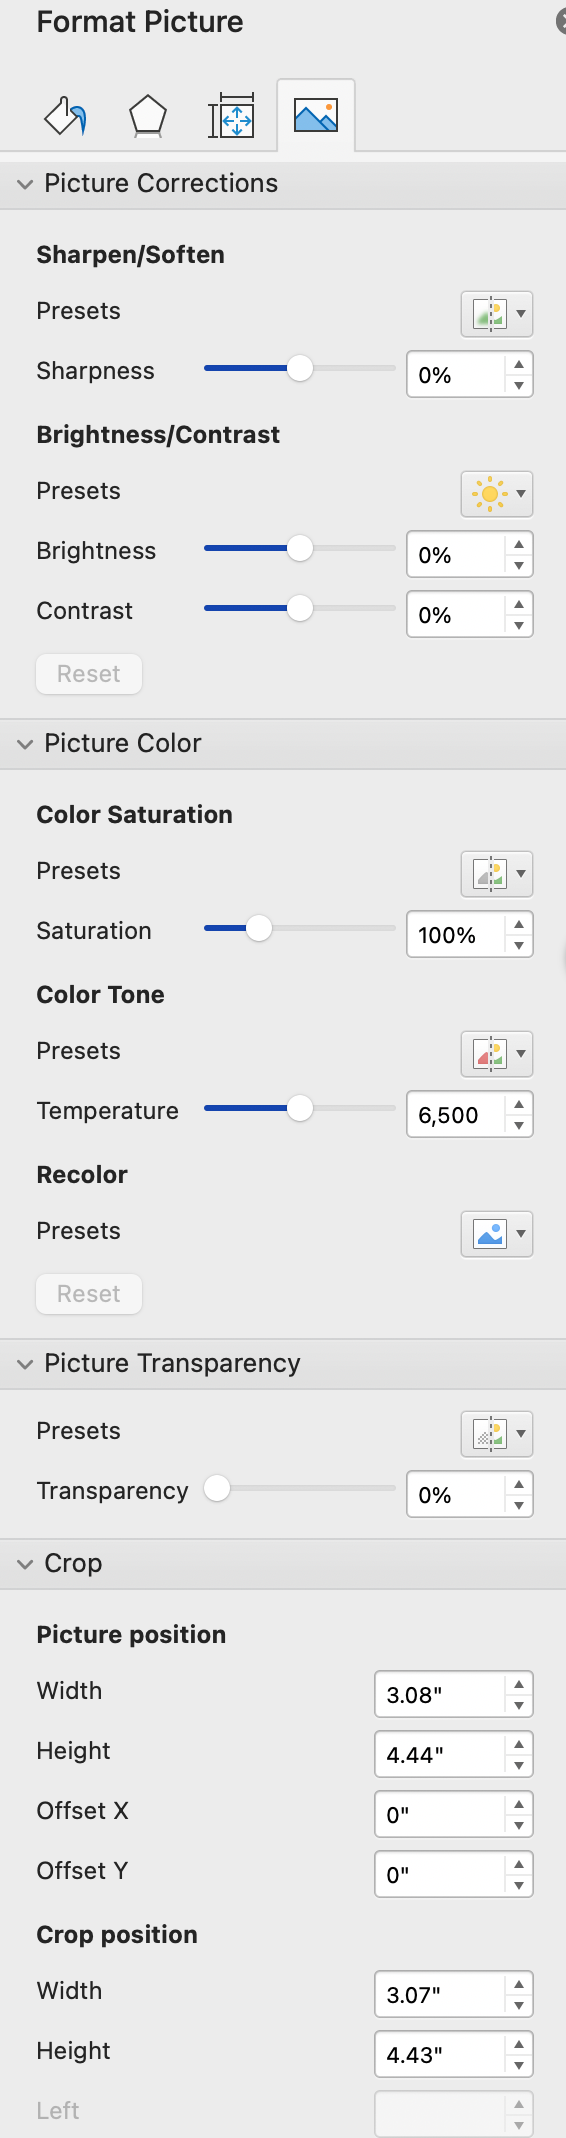
Picture Corrections
Use this tab to adjust the brightness or contrast, set the picture transparency, adjust the color tone, or crop the image.
If you are printing your book on KDP in black and white, it’s a good idea to convert your images to grayscale.
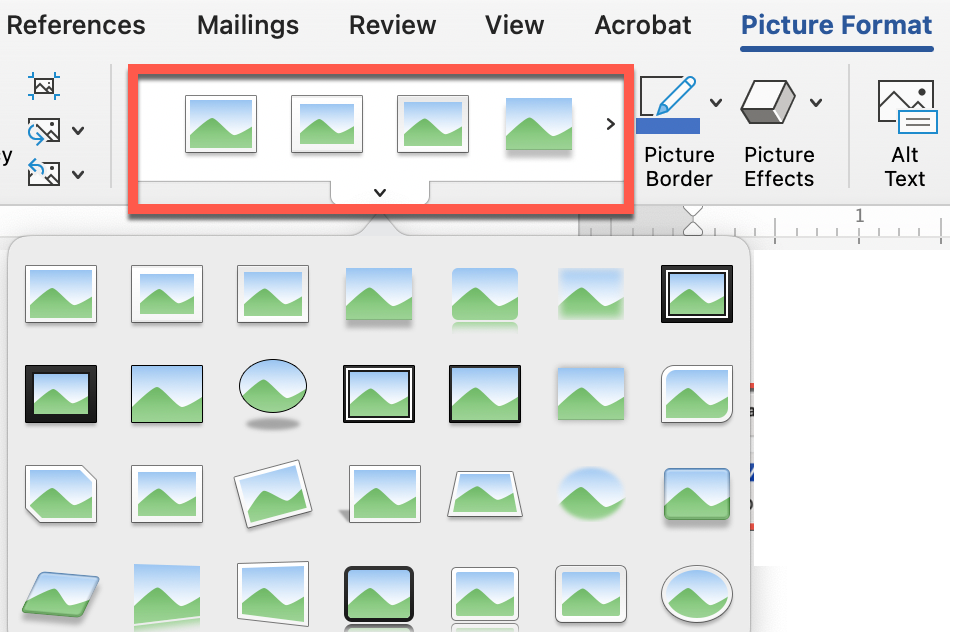
Picture Frames
Microsoft Word also has several pre-defined picture frames that you can add to pictures. These are useful for “About the Author” photos or “Dedication” photos in your book.
When you click on the image, the Picture Format tab will appear at the top of the page. Click on the dropdown arrow below the frames to see all of your options.
You can also use the Formatting Pane to adjust the width and color of any borders for your images.