If the template you are using doesn’t have a style that meets your requirements, you can modify or create new styles.
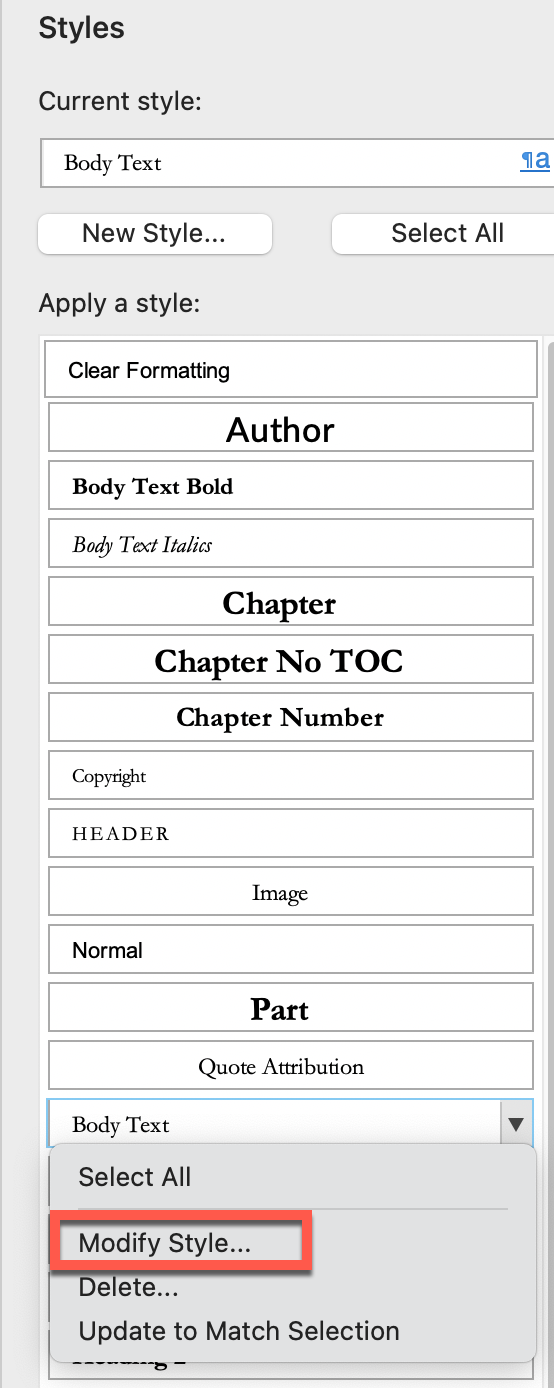
You can quickly modify existing styles by clicking on the arrow to the right of the style you want to change and selecting “Modify Style…”
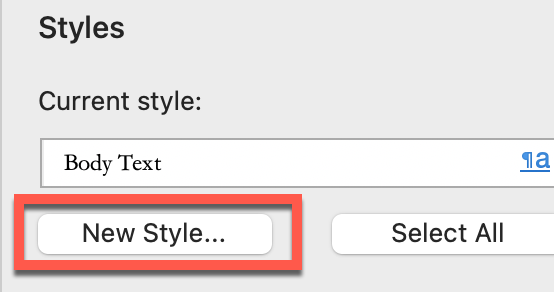
To create a new style, click on the “New Style button at the top of the styles list.
Paragraph Style Options
When you add a new style, you will have several options to customize. Below is an image of the first screen you will see. We’ll discuss the options you are most likely to use when formatting a book.
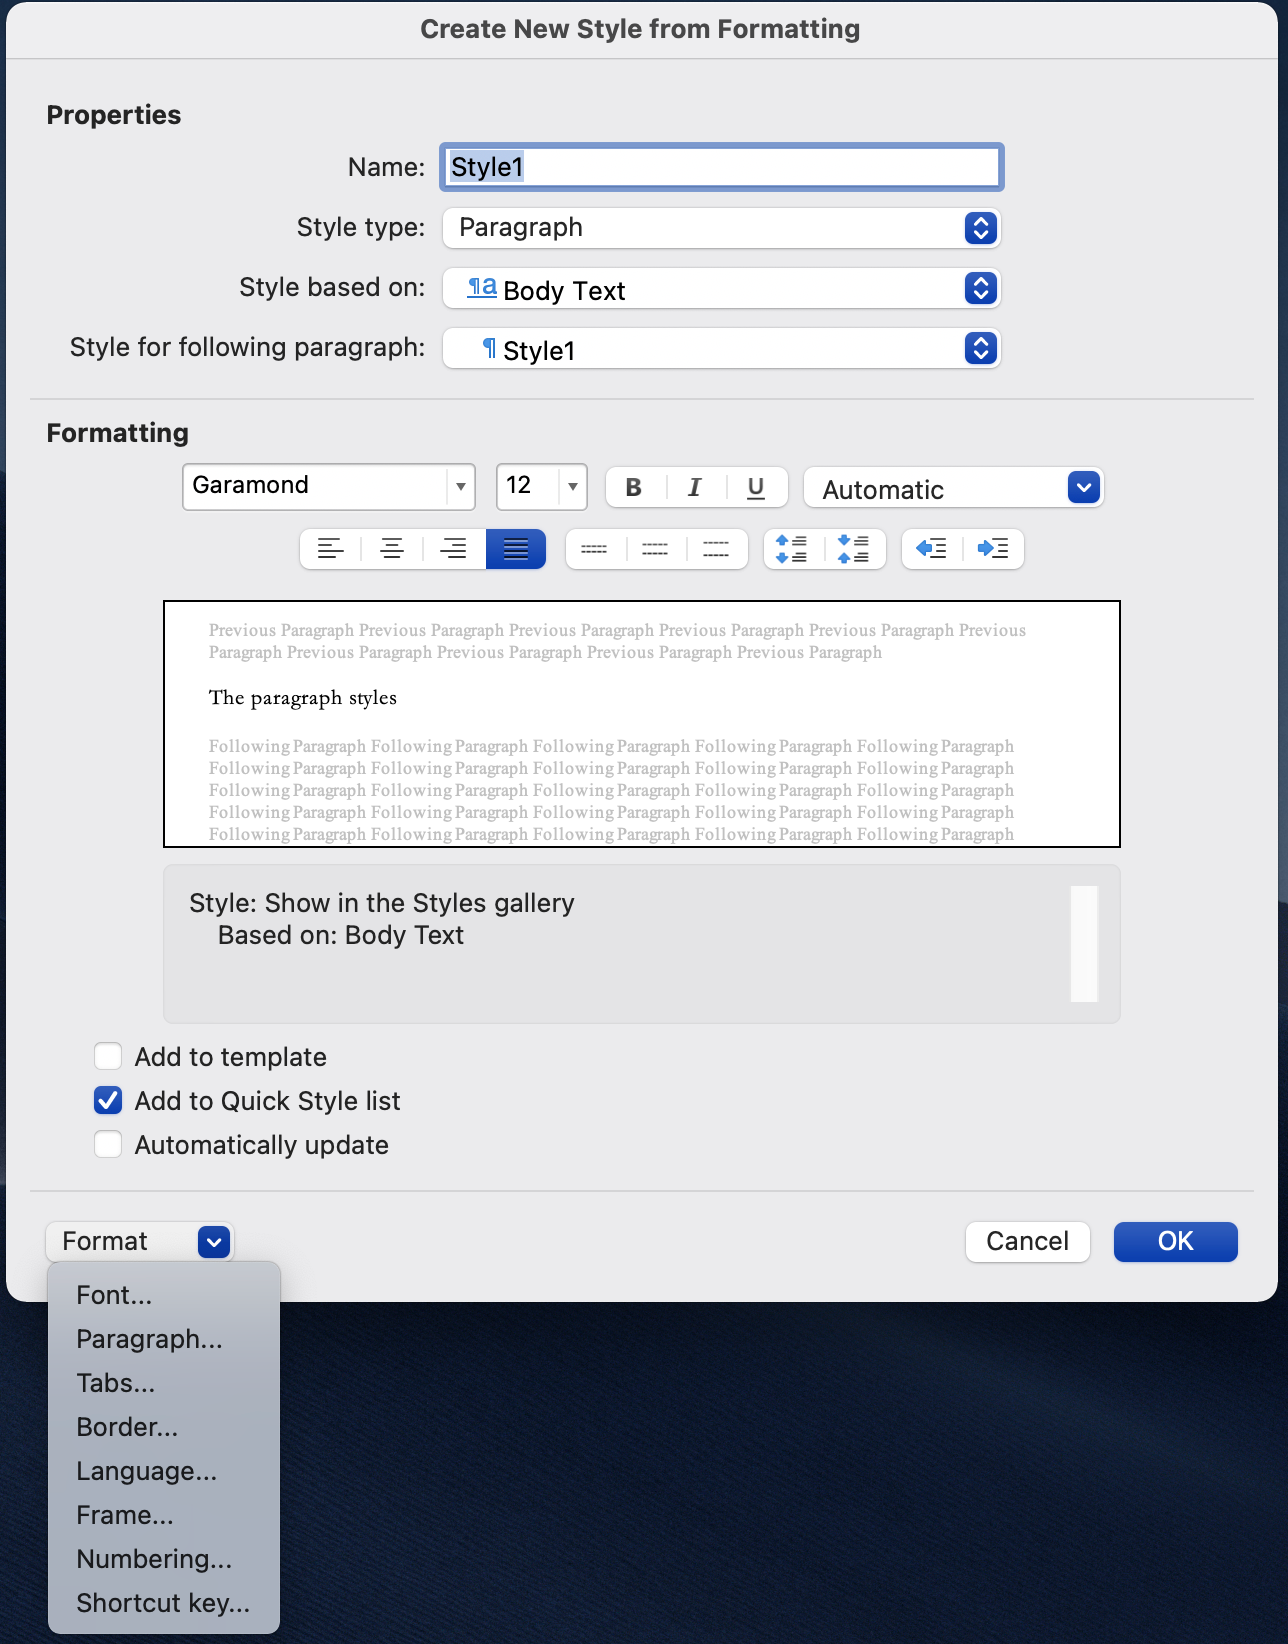
On the first screen
- Enter the style name if it is a new style, or confirm you are working with the correct existing style.
- Select the font name and size, and click the options if you want it Bold, Italics, or Underlined. You can also select all options at once. Bold, Italics, Underlined.
- Set the justification (left, center, right, or full), line spacing (single, 1.5, or 2), and text-indent options.
- Check “Add to Quick Style List” and click “OK.”
Note: The large box in the center of the screen will show a preview of the options you select.
Tabs
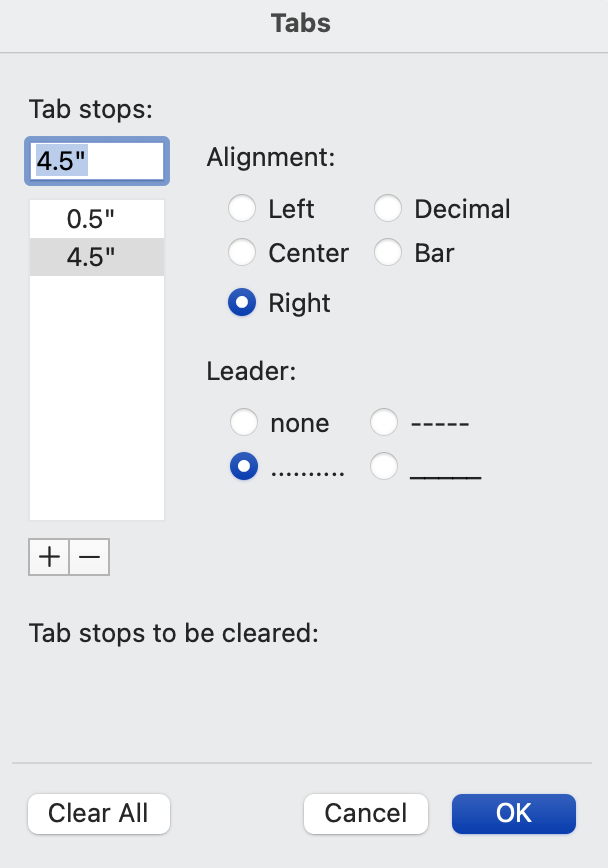
The “Tabs” screen allows you to add or remove tab stops. The example below shows a left tab set at 0.5” and a right-aligned tab with a dot leader set at 4.5” (this is useful in a Table of Contents)
Border
This screen applies to the paragraph border and also includes options for shading.
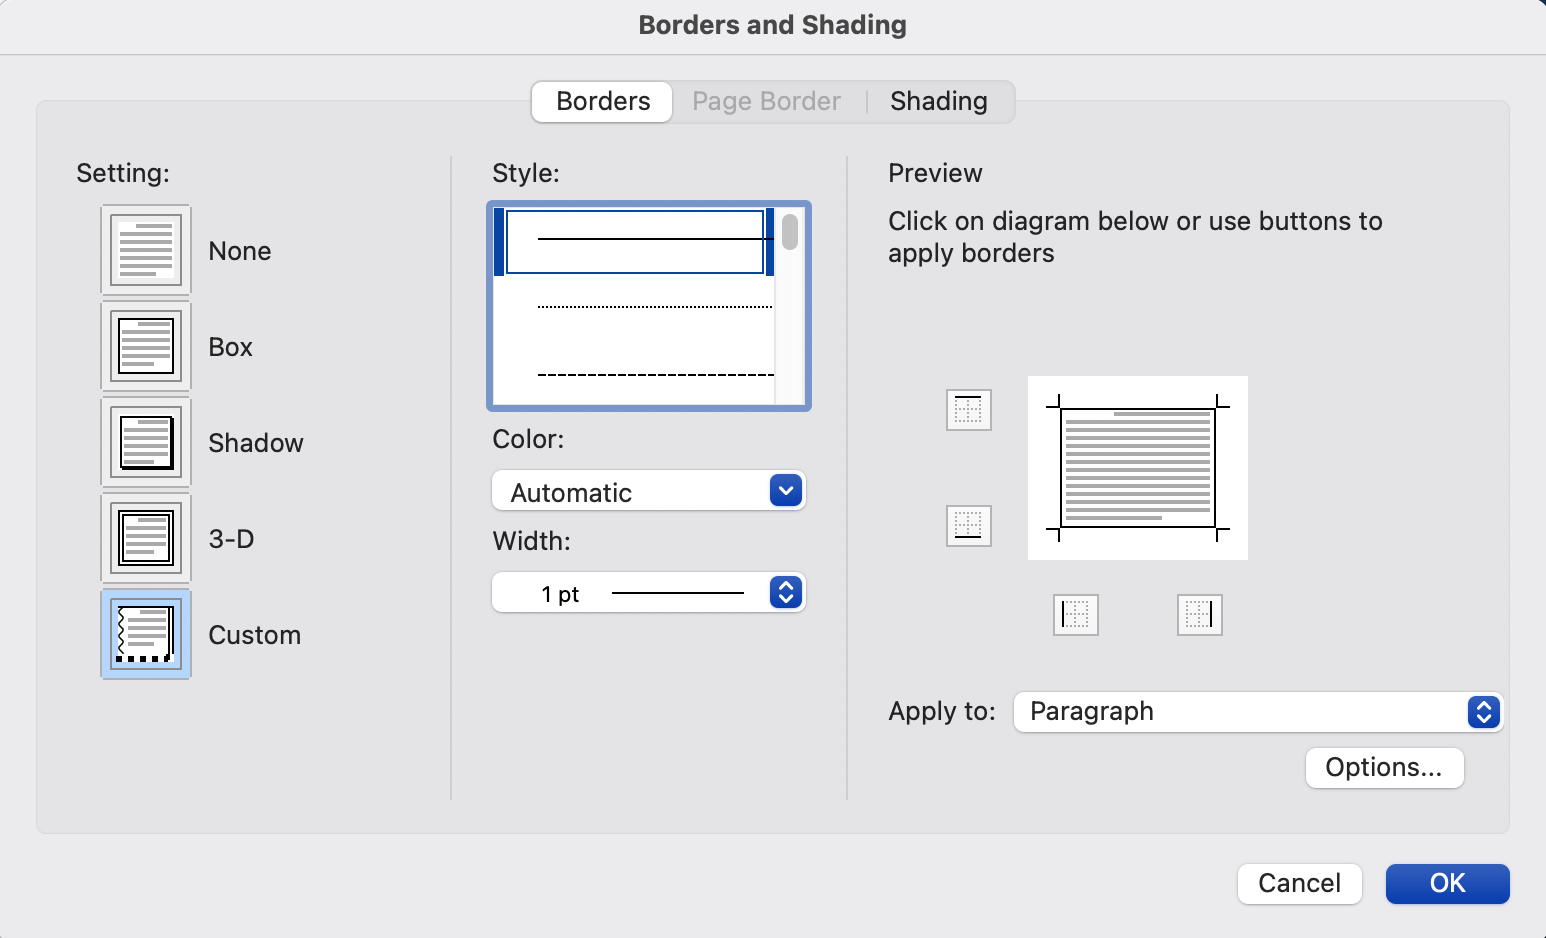
Play with the different options available for colors and widths. Also, you have several options for line styles (lines, dotted, double lines, thick lines, etc.)
The Preview screen will show you how the paragraph will look with all of the options you select.
You have several options available for shading paragraphs with a solid color or pattern. Additionally, you can select the level of shading you want.
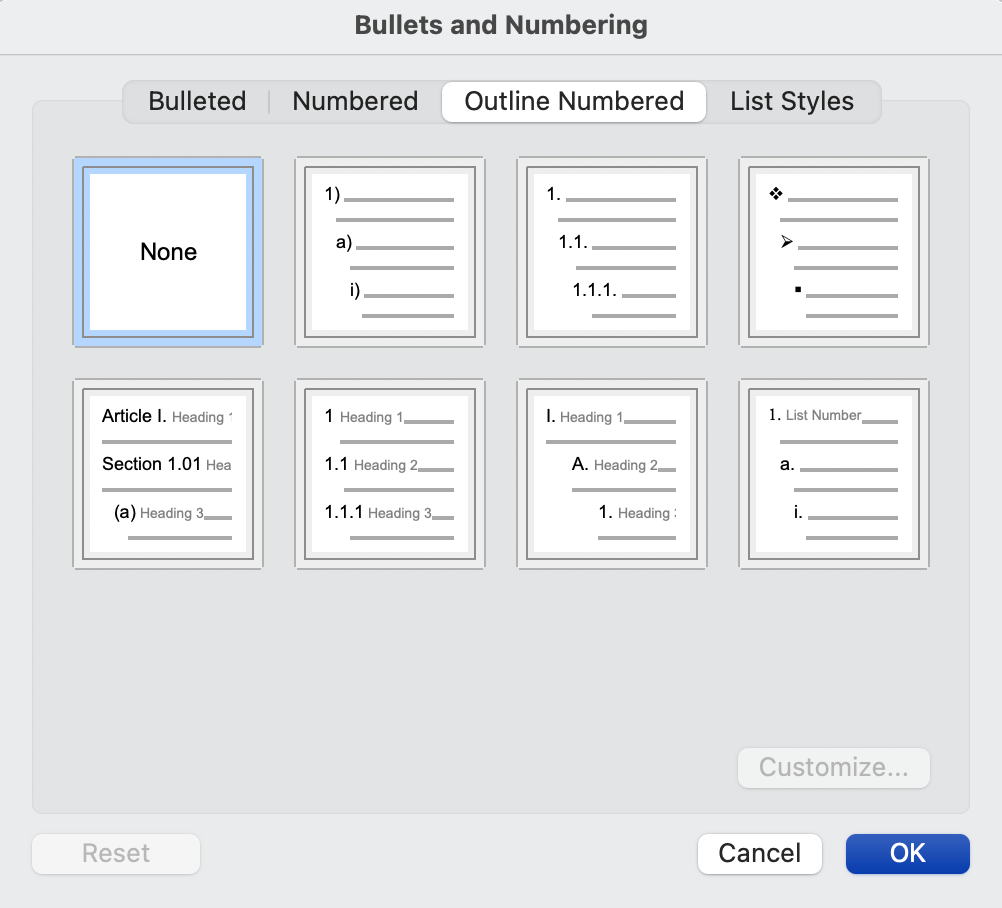
Numbering
The numbering options available include numbers and bullet lists.
Keep in mind that the first list you add to your document will start with “1”
1. My first list
2. Second item on my first list
3. Third item on my first list
The next time you add a list, the numbering will start at the next number from the previous list.
4. See how this is number 4?
5. We want this to be number 1.
To start the next list at number 1, right-click the number and choose “Restart Numbering.”
1. Now our first item is correct
2. So is our second item.