For the best results, convert your manuscript file to a PDF before uploading it to KDP. Choose of one the methods below to create a PDF file intended for high-quality printing. Be sure to save your documents before creating your PDF so you can edit them later if you want.
Note: When creating a PDF for upload, create a new file. Saving over previous versions can compound upon corrupted data, which can create delays in uploading, processing, and production.
Settings
You can choose to print, export, or save as a PDF depending on your editing software. Whichever method you choose, make sure you enable (or disable) the following PDF-specific settings.
- PDF/X format is used. PDF/X-1a is preferred, but if you are submitting non-PDF/X files, any comments, forms, or other non-printing objects could be removed when KDP reviews the file.
- Disable downsampling or decreasing image resolution.
- Remove PDF creation logos or watermarks.
- Optimize PDF to reduce the file size, allowing for higher performance when transferring, uploading, viewing, and printing the files.
Any other settings should be left to default in most cases. If you’re not sure how to change these settings, check the Help content for your chosen software. Once created, make sure to open the PDF file to see that it appears as you intended. Otherwise, make the necessary adjustments in the native document and re-create the PDF file.
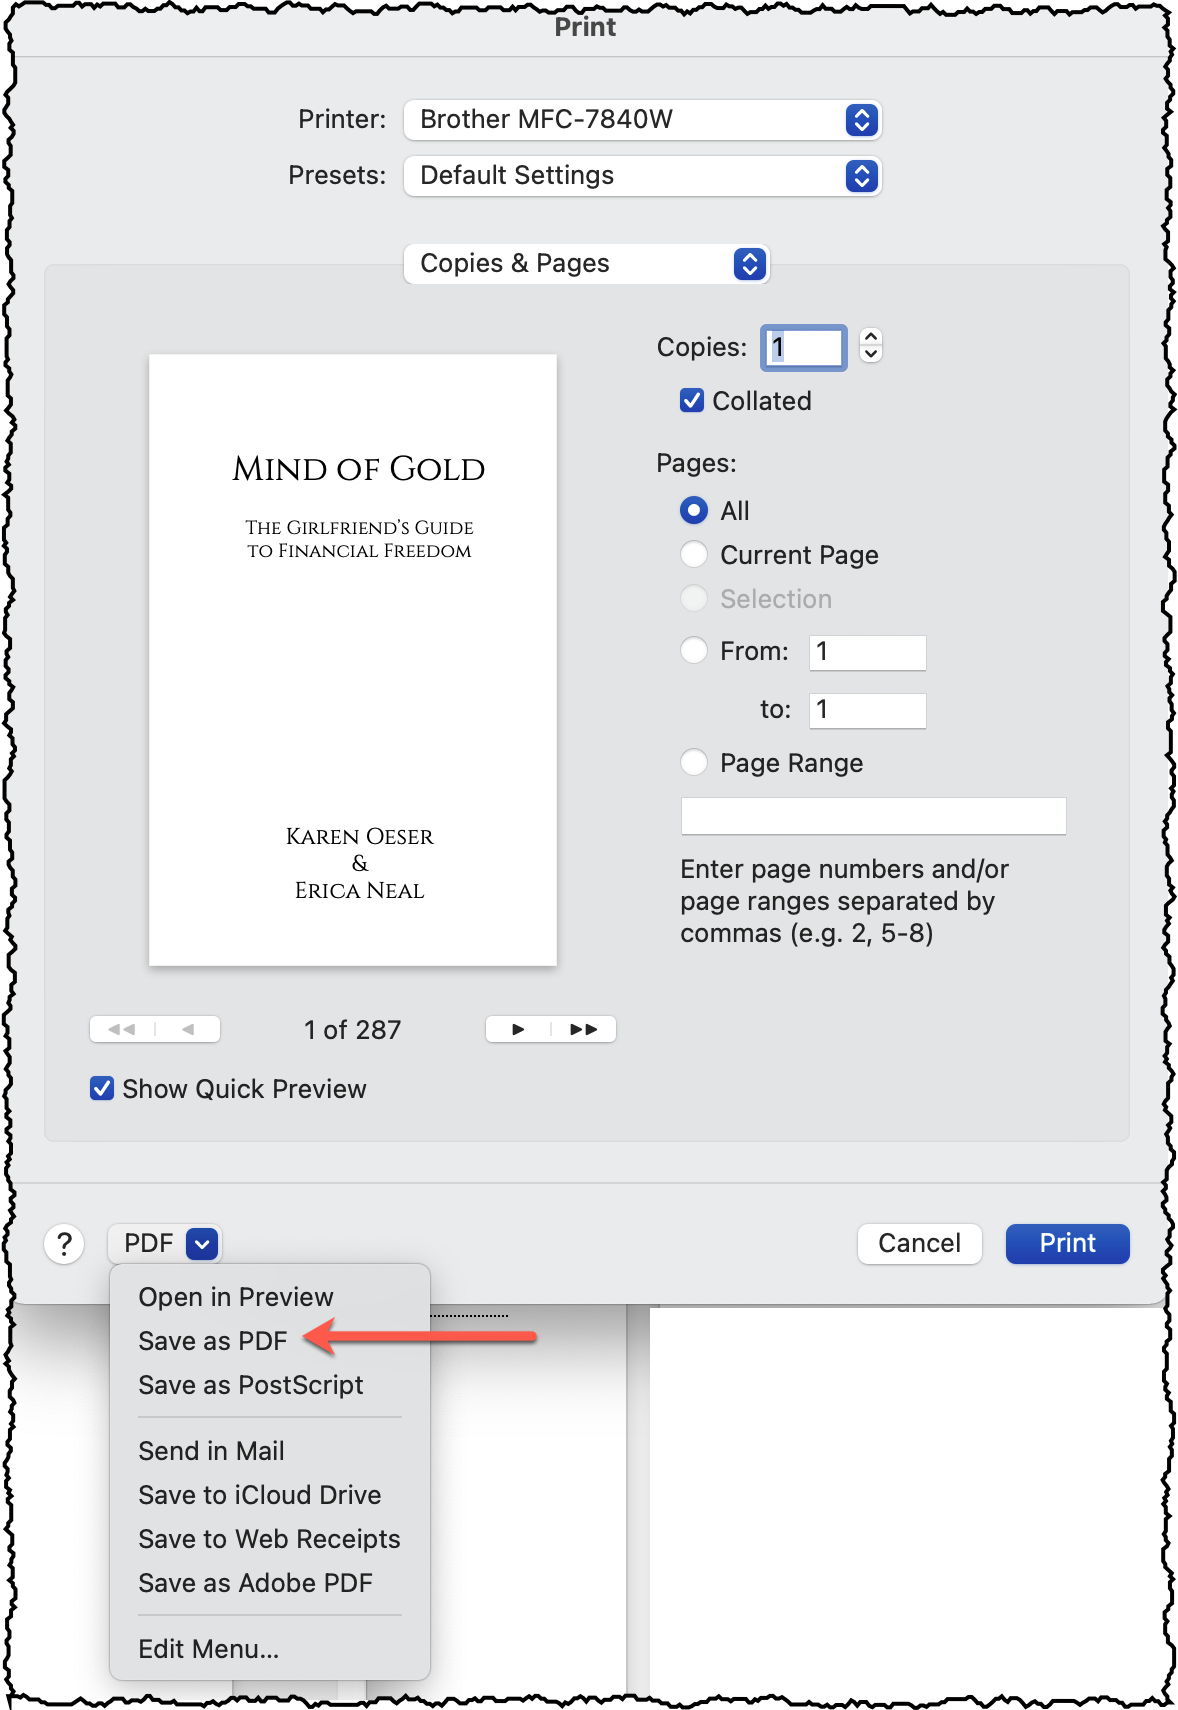
Print to PDF
- In the application you used to write your book, select “File > Print.”
- Select “PDF” from the list of printers. If you do not find “PDF” in the list, there may be a “Print to PDF” or “PDF” button in the dialog box. Select this option if it is available. Otherwise, try Option 2 below.
- Click “Properties,” “Settings,” or “Options” (names vary depending on your system) to check the PDF settings that will be used to create the PDF file.
- Provide a name and location for the PDF file (may default to the current name and location of the native document). Click “OK” in the print dialog box.
- With the native document open in the application you used to write your book, select “File>Export.” You may need to select “PDF” if other file formats are available for export in the application.
- Provide a name and location for the PDF file you are exporting (may default to the current name and location of the native document). Click “Save” or “OK” in the print dialog box.
- Check the PDF settings that will be used to create your PDF file.
- Click “Export” or “OK” in the export dialog box.
- With the native document open in the application you used to write your book, select “Save As” from the application’s main menu or “File” menu.
- Choose “PDF” from the list of available file formats.
- Click “Settings” or “Options” (naming depends on your system) to check the PDF settings that will be used to create your PDF file. If your system allows, make sure the following settings are chosen. Any other settings should be left to default in most cases.
- Provide a name and location for the PDF file you are saving to (may default to the current name and location of the native document). Click “OK” in the print dialog box.
Export to PDF
Save as PDF
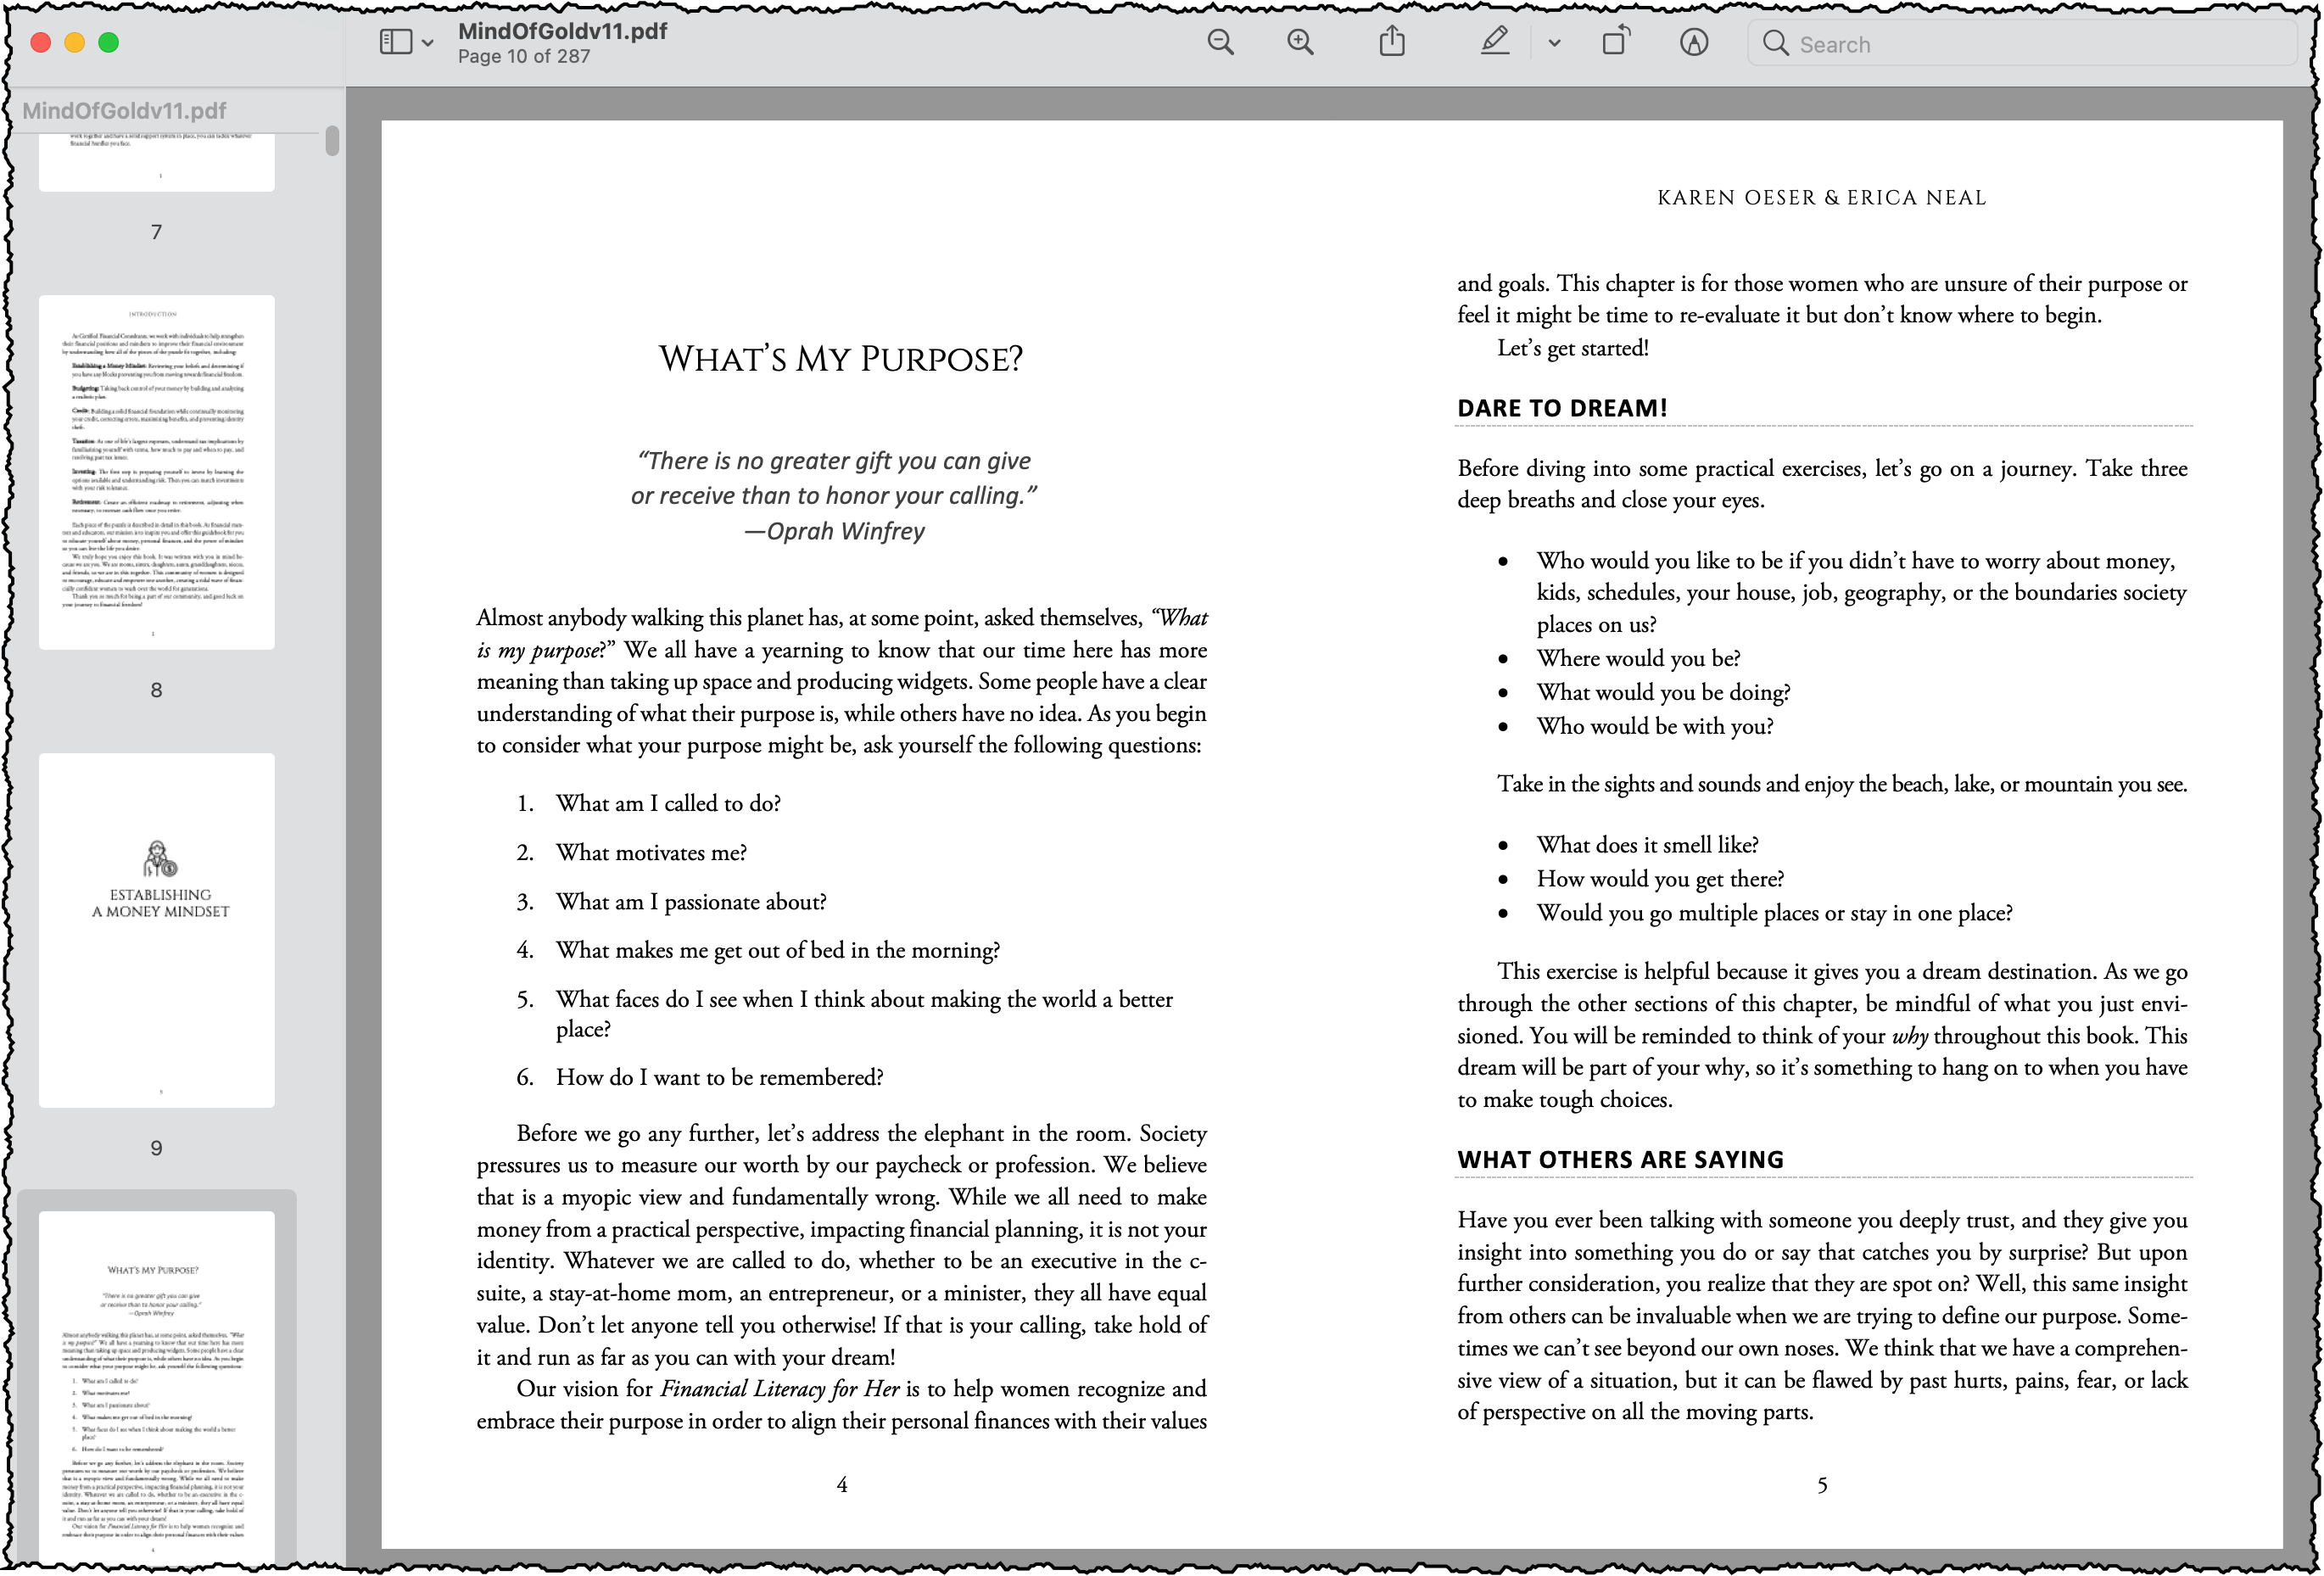
Once created, make sure to open the PDF file to see that it appears as you intended. Otherwise, make the necessary adjustments in the native document and re-create the PDF file.
Save your file, and upload and preview it in KDP.