Tables can be used to present data in a clear and concise manner, making it easier to read and understand. This is particularly useful for presenting numerical data.
You can also use tables to align text and graphics on a page. This is useful for creating newsletters, brochures, and other types of documents where text and graphics need to be placed in specific locations.
Finally, you can use tables to format text by creating columns and rows of text.
Inserting Tables Into Your Document
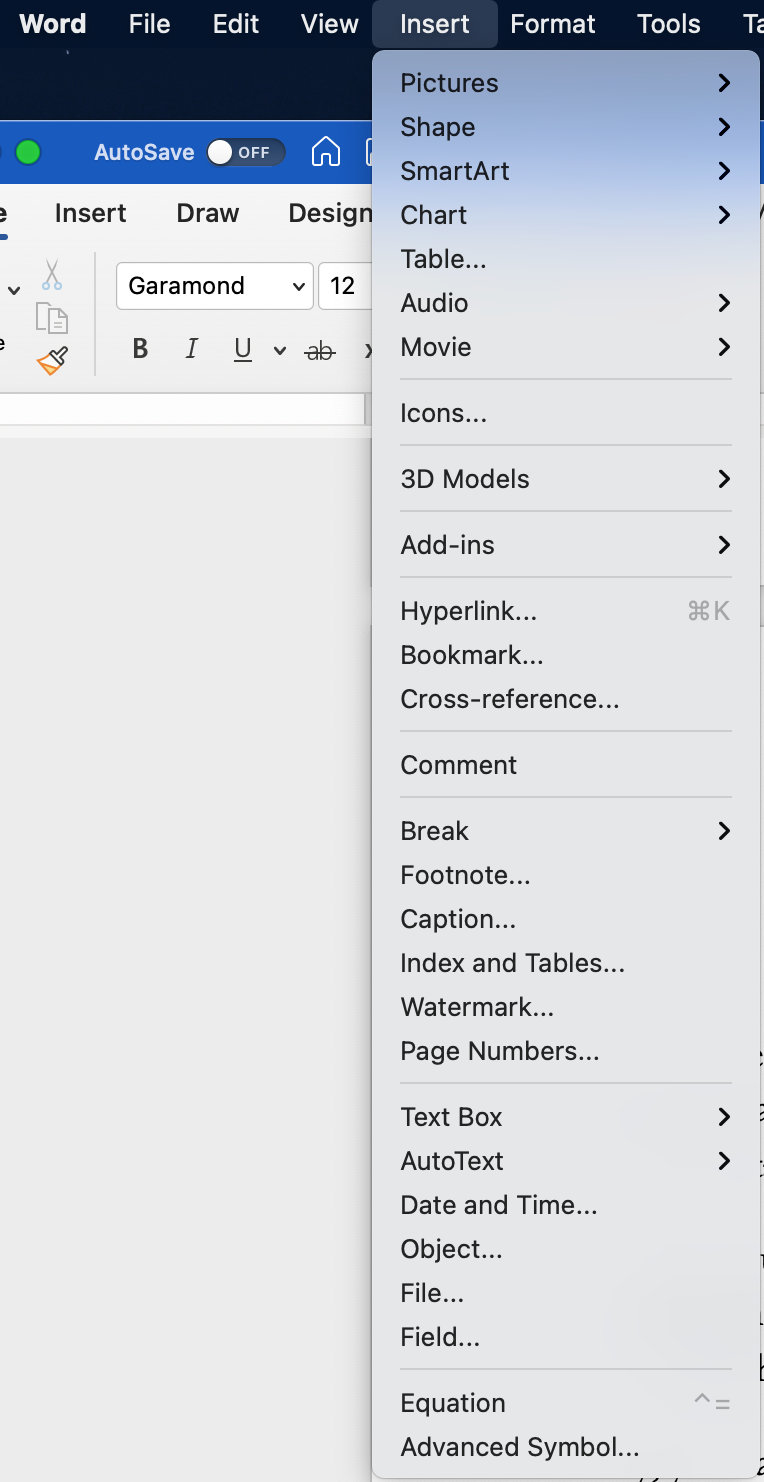
- Click on the “Insert” dropdown list from the top menu bar.
- Select “Table.”
- From the dialog box, enter the number of rows and columns for your table.
- Click “OK” to see your table.
- Add content to the table by clicking inside each cell to type or paste the text.
- To modify the table, make sure you are in the table. Click on the “Table Design” or “Table Layout” tabs located above the table.
- change the style
- add row or column headings
- add borders and change the border style
- add shading
- To use the predefined styles in Word, click on the arrow to expand the view of options:
- Hover over the different table style options to preview your table with that style.
- Once you find a style that you like, click on it to apply it to your table.
- Your table will now be formatted with the selected pre-formatted style.
- To customize a style, make your style changes and then click the “More” button in the “Table Styles” section and select “Create a Style.”
- Enter a style name and choose the formatting options you want to include.
- Click “OK” to save your custom table style.


The Table Design menu allows you to:
